- Home
- Ice Cream Recipes
- Bag Ice Cream Recipe
Homemade Bag Ice Cream Recipe
This homemade bag ice cream recipe is a fun for kids of all ages. It's an activity that's also educational since it demonstrates the interaction of salt and ice as it lowers the freezing temperature of the sweetened cream mixture.
You'll learn how our ancestors made their own homemade ice creams when nowadays it's something that's normally store-bought. But, best of all, making bag ice cream is loads of fun for anyone.
Easy Homemade Bag Ice Cream Recipe
©2004 by Don Bell
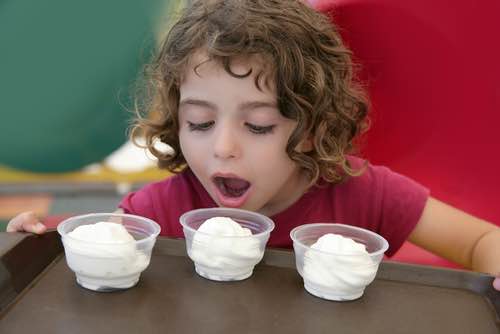 Kids Have Fun Making Freezer Bag Ice Cream
(Source: ©lunamarina/Depositphotos.com)
Grandma's Tip
Whole milk may be substituted for cream in this freezer bag ice cream recipe, but the results will not taste as good. If you cannot use milk or cream, substitute fruit juice to make a delicious water ice treat.
This homemade bag ice cream recipe can be useful for entertaining the kids on a rainy day, or to simply offer a fun activity with friends. It's one student science project you can't resist trying. After all, the frozen ice cream always turns out delicious!
To make ice cream in a bag, here's what you'll need for each serving: 2 quart-size Ziploc® freezer bags and 1 gallon-size Ziploc® freezer bag.
Freezer bags work better than sandwich bags for making ice cream because they are thicker and will take a lot more abuse. Any brand can be used, but the bags must be tightly sealable.
Mitts or gloves are also required because the mixture grows noticeably colder as the salt melts the ice surrounding the inner bag.
Now, let's make some ice cream!
1. In a small bowl mix 1/2 cup coffee cream or half & half, 1/2 teaspoon of vanilla flavoring, and 3 teaspoons of sugar. Pour the mixture into one of the quart-size freezer bags and tightly seal it, leaving as little air in the bag as possible.
2. Now place this bag inside the other quart-size freezer bag and seal it tightly as before. Using 2 bags helps to ensure that saltwater will not leak into your ice cream and spoil its taste.
3. Next put the bags containing the ice cream mixture inside the gallon-size freezer bag, fill it almost full of crushed ice or ice cubes, add 1/4 cup of salt and seal it tightly; again, leaving as little air in the bag as possible.
4. Wearing a pair of warm gloves or mitts, shake and "gently" squeeze the bag so that the ice and salt completely surround the ice cream mixture. However, be careful not to squeeze too hard or the bags might unseal and spill the mixture.
5. Continue this action for about five or six minutes, until the mixture feels frozen. You now have ice cream in a bag!
6. Over a sink or basin, gently remove the inner bags from the large outer bag and quickly rinse them off in cold water to remove any salt.
7. Finally, carefully open the bags and use a spoon to eat the delicious, frozen treat right out of the plastic bag.
Student Science Project
The homemade bag ice cream recipe makes a great student science project to demonstrate the old fashioned ice cream making process. It's also perfect for a tasty show and tell classroom presentation.
Your hands can feel the mixture growing noticeably colder as the salt melts the ice surrounding the inner bags. What happens is the brine solution absorbs the heat from the mixture and allows it to begin to freeze.
If there were no salt added to the ice, it would melt at 32°F (0°C), the melting point for freshwater ice, which is not cold enough to make freezer bag ice cream.
Salt speeds the melting of the ice and lowers the temperature to the melting point of saltwater ice, approximately 29°F (-2°C), depending on the saltiness of the water. The lower melting temperature is necessary for the mixture to freeze.
The same freezing principle is involved when making old fashioned coffee can ice cream, a more traditional version of the bag ice cream recipe.

Sign Up now for GRANDMA'S DESSERT CLUB and download your FREE PDF COPY of Grandma McIlmoyle's Little Dessert Book. Also receive my regular Bulletin featuring classic recipes and nostalgia.
